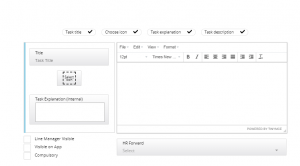
The following plan is a guide to assist you with the System Configuration and User Acceptance Testing (UAT) process.
The UAT Test Scripts should be used by the Customer to configure the areas of the system which are to be customised to ensure they perform as required.
—————————————————————————————————————————————————
General System Configuration Details to be confirmed:
The Supplier will assist the Customer in the system configuration required to set up the Day-One system is as follows:
Onboarding – Domain Name/URL (Control Panel)
A standard/fixed Domain name will be provided for the Onboarding Control Panel. (Back end)
Example: {clientname}.Onboarding.com
The Journey Domain Name/URL (Candidate Facing Website)
The domain name is the value that is visible in the browser’s address bar, for example “Welcometoonboarding.com” can be chosen by the Client.
The Onboarding system needs its own domain name. Please note that it cannot be part of your corporate domain, so, for example, “www.mycompany.com/onboarding” is not a valid choice, although that can be redirected if you wish.
Hosting
Onboarding SaaS is hosted by Basis Media using Microsoft Azure cloud
Onboarding Website Secure Cert (SSL)
All traffic to the Onboarding system is encrypted using HTTPS, therefore a secure certificate is required.
While Genius Group can provide the secure certificate many clients have their own process and policies regarding secure certificates.
Please confirm if you require Genius Group to provide the secure certificate, or if Genius Group should work with your IS team to obtain one (if so please provide contact details).
Onboarding Website Google Analytics
We can use your existing Google Analytics account to add the Onboarding front end website information into the control panel for analysis or if you provide the email address of any of your users, Genius Group can create an account on your behalf as part of the development
DKIM/Email
Genius Group need to know what email domain the Client want the emails to be sent from (will this be the same as the NexGen/GeniusATS email domain?)
e.g. @GeniusGroup.co.uk or @welcometobasis.com).
Obviously that needs to be a real domain and one that the Client controls the DNS for.
Once confirmed Genius Group can provide them with DKIM/SPF/MX records that will enable us to send emails from MailGun as that domain.
Note: Depending on the outcome, the client may need to whitelist Genius Group with their mail server
Penetration Testing
The Supplier ensures that the system is PEN Tested Annually (May)
The Customer can arrange a separate PEN Test to be complete on the product prior to Launch, but this must be agreed in writing by the Supplier prior to the test.
Note: Depending on the outcome, the client may need to whitelist Genius Group with their mail server
———————————————————————————————————————————————-
Day-One System Configuration Requirements
The Journey – Front End Onboarding Website
The onboarding website will be designed and developed specifically for the Customer and is to be tested by the customer to ensure that all of the following areas are correct and fully functional:
- Content
- Assets (photography / Video / images)
- Buttons / links
The sitemap, layout, design, content and assets are all intended to provide new hires being onboarded into the business with information about the company.
The Journey consists of ‘Static’ website content website pages and ‘Task overlays‘, which are controlled via the control Panel.
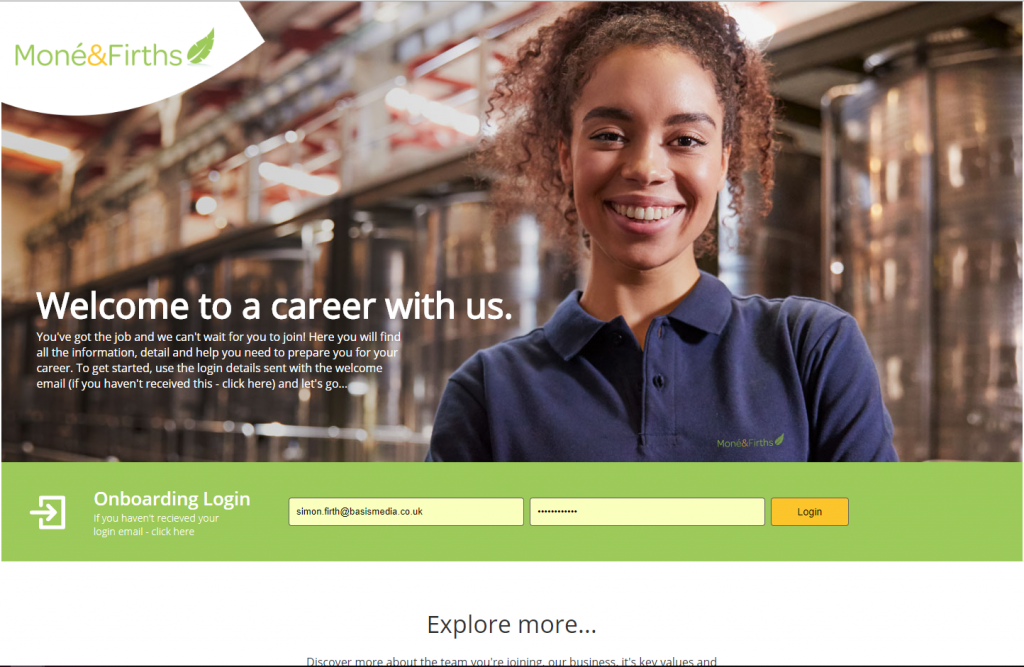
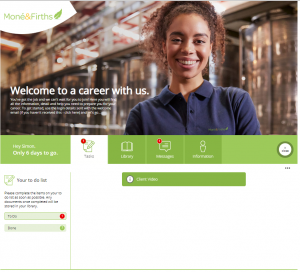
The onboarding website is a seamless link between the website and onboarding tasks that are to be complete by the new hire before they start. Here you can see that the Onboarding section is embedded within the website
Control Panel > System Users
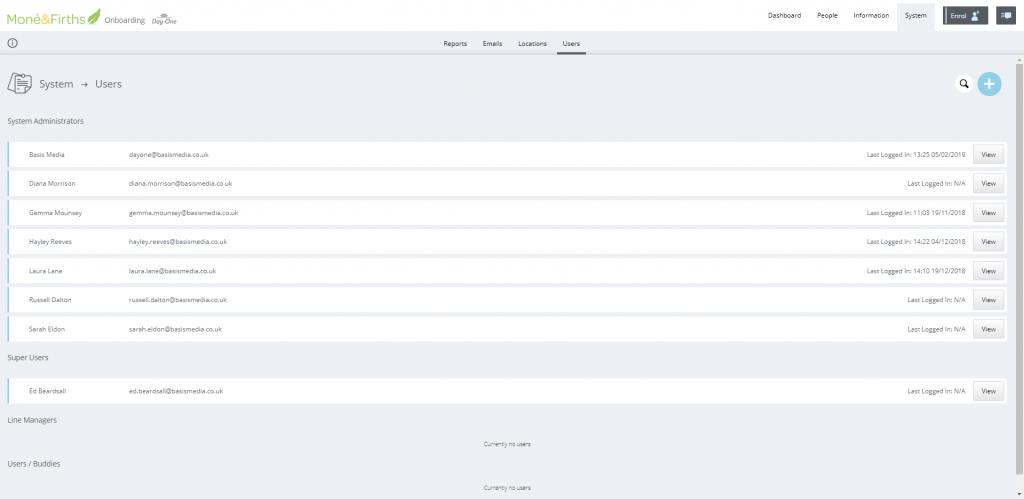
Identify individuals within your business that will be able to test the system. If your business is using all modules you will need individuals who will be in each user group.
- Super Users
- Have access to all areas of the control Panel
- System Administrators
- Have access to all areas of the control panel – except the ‘Users’ section
- Line Managers
- Can only view own hires
- Users (Buddies)
- Can only view own hires or hires they have been associated with as a ‘Buddy’
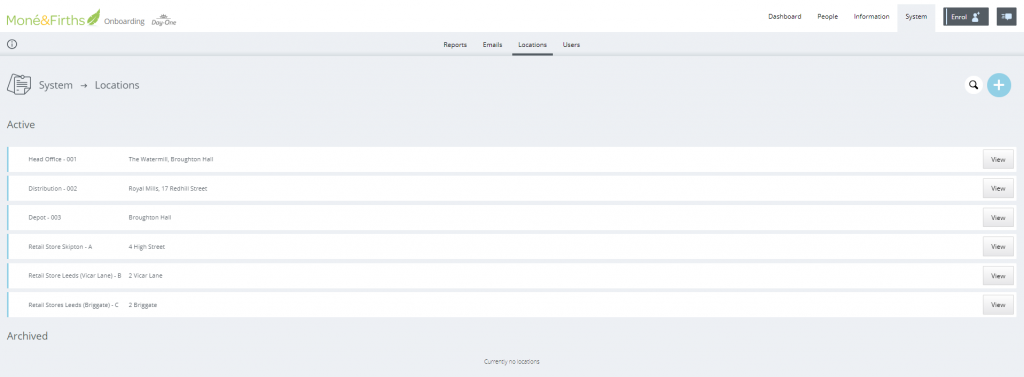
Control Panel > Locations
The Customer can add in all business locations where new hires will be employed within the control panel.
This field is connected to the following mail merge fields
- {{Starters-LocationCode}}
- {{Starters-LocationName}}
- {{Starters-LocationStreet}}
- {{Starters-LocationTown}}
- {{Starters-LocationPostcode}}
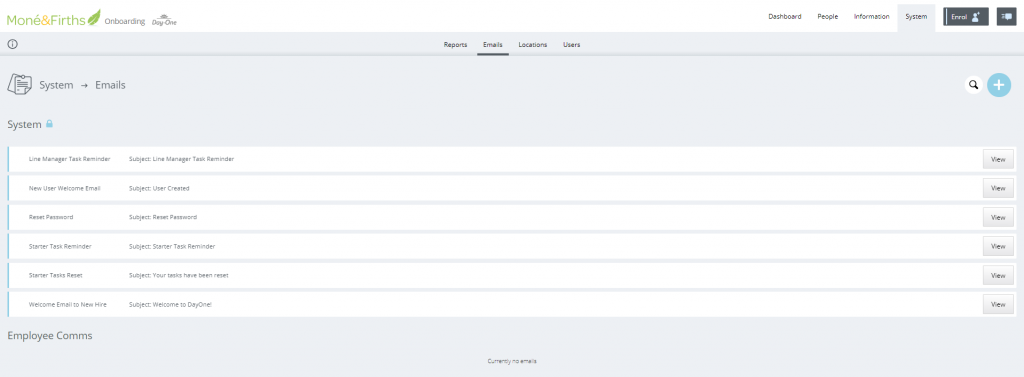
Control Panel > Emails
The Customer will need to customise the email templates which are sent out from the system
Front End & Control Panel > Candidate Data
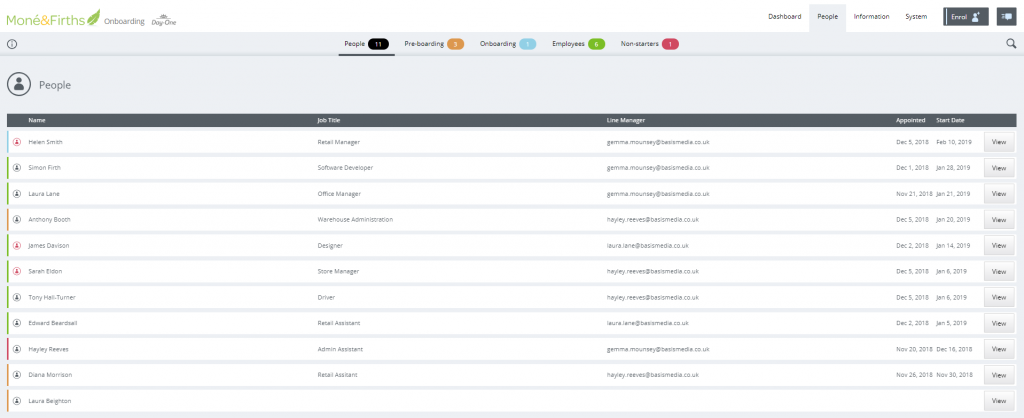
For the initial testing phase, you will need to create ‘Dummy’ data within the system. This means that you should enter fictional information that is in no way representative of an individual within the business and does not break current data protection or GDPR regulations.
Control Panel > Documents
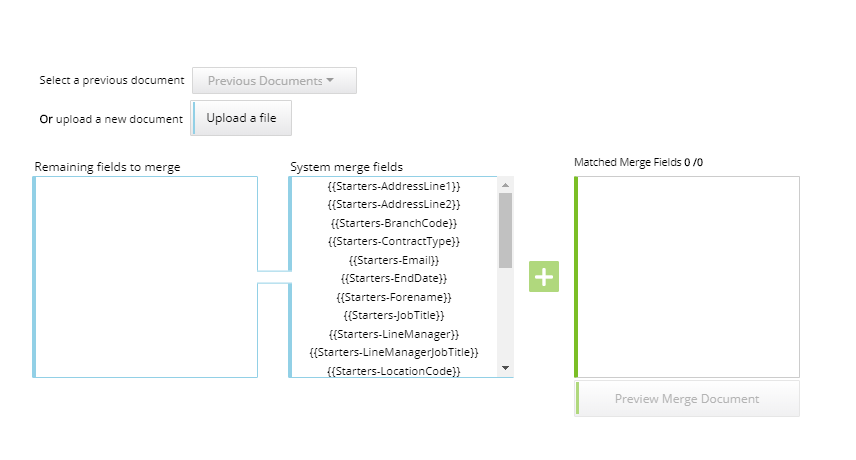
If you are using any documents as part of the testing that have mail-merge requirements, you will need to format the document with the appropriate ‘mail-merge tokens’ should this be required to mail-merge any information.
Document Formatting Instructions:
Before you upload any documents, you need to replace any fields within the document with the following mail-merge tokens:
- {{Starters-Forename}}
- {{Starters-Surname}}
- {{Starters-PreferredName}}
- {{Starters-AddressLine1}}
- {{Starters-AddressLine2}}
- {{Starters-Town}}
- {{Starters-Postcode}}
- {{Starters-Email}}
- {{Starters-Mentor}}
- {{Starters-BranchCode}}
- {{Starters-ContractType}}
- {{Starters-StartDate}}
- {{Starters-EndDate}}
- {{Starters-ProbationEndDate}}
- {{Starters-JobTitle}}
- {{Starters-Salary}}
- {{Starters-LineManager}}
- {{Starters-LineManagerJobTitle}}
- {{Starters-LocationCode}}
- {{Starters-LocationName}}
- {{Starters-LocationStreet}}
- {{Starters-LocationTown}}
- {{Starters-LocationPostcode}}
- {{Todays-Date}}
These are the only mail-merge fields available. Once a template has been created it can be added into a ‘Pack’ ready for sending to candidates as part of the front end onboarding journey.
NOTE: At ‘Pre-Boarding’ and ‘Onboarding’ stage there is a document exchange function, which allows the user to update the document (contract / offer).
If there are any changes required to the contract – e.g. spellings, benefits, salary etc
————————————————————————————————————————————————
Control Panel > Task Creation
Individual Tasks are created within the [Information] area of the system.

There are 10 standard ‘task types’ that can be configured within the control panel to allow the user to create a number of pre-defined ‘Tasks’ which can be added to a ‘Pack’.
The Pack is presented to the new hire via the onboarding website.
- Personal Details
- Document
- Simple Document
- Offer Document
- Contract Document
- Link
- iFrame
- Upload
- Single Upload
- Multiple Upload
- Form
- Dates
- Start Date
- Appointment
- Professional Bodies
- References
- Equality
TASK TYPES
Personal Details
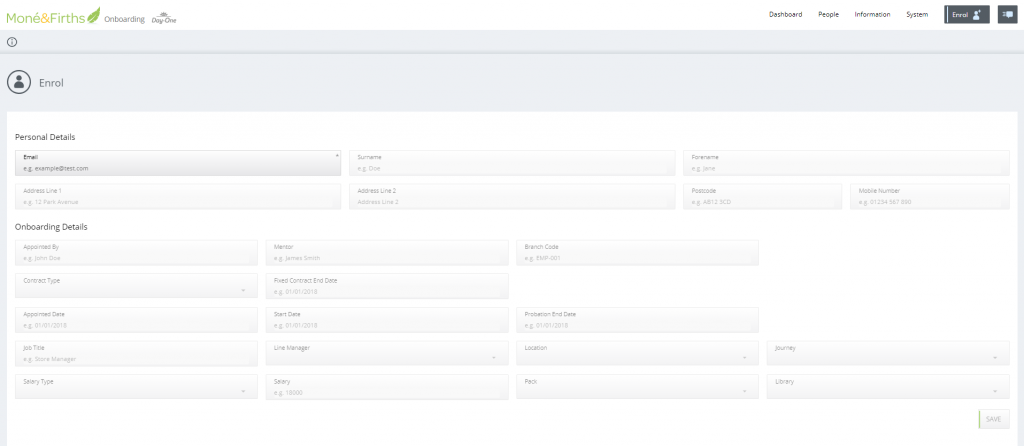
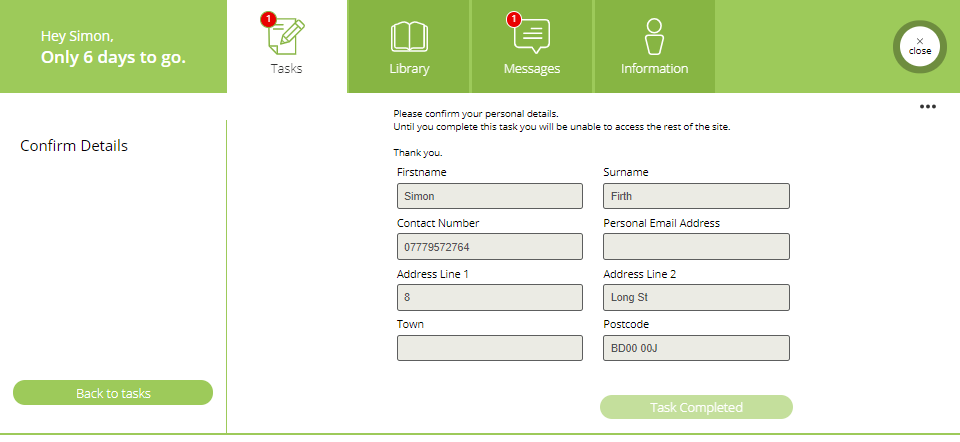
When a CSV upload creates a record or a user adds in a new hire’s personal details into the control panel (via the ‘Enrol’ function), this task can be added to a Pack and requires the candidate to ‘confirm’ the personal details are correct. This is to ensure that once this has been confirmed, the contract or offer letter can be populated with the correct mail-merge data in the onboarding tasks.
Control Panel View:
Website View:
Document
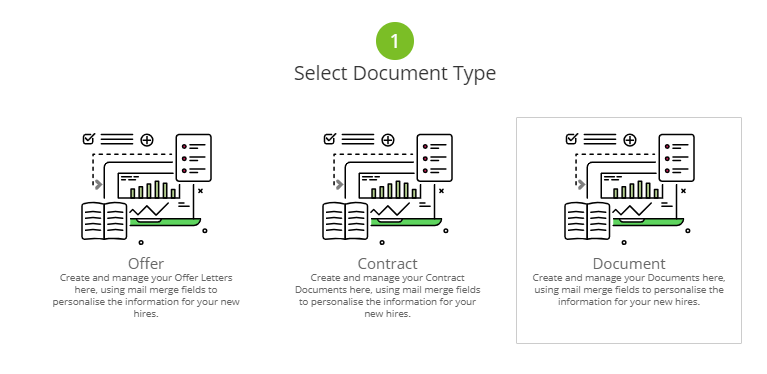
Users can create 3 types of documents tasks within the system. In all ‘Document Tasks’, mail merge fields can pull through individual candidate information against a set template.
Link
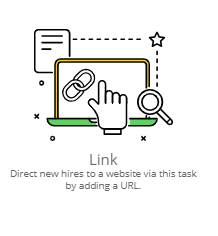
Users can create a task which directs the new hire to a URL link. The candidate then [confirms] they have completed the task on the front-end website.
iFrame
Users can create a task which iFrame’s a website. The candidate then [Confirms] they have completed the task
Upload
Users can create a task which requires the new hire to upload a document / picture etc. Here the user will provide the instructions and the system will provide an upload facility to complete the task.
Form
Users can create bespoke forms as a task and manage where the information is sent once complete by the user and who can see the information in the control panel
Start Date
Users can create a confirm Start Date task. This pulls through the information that has been added into the control panel for the new hire and allows the new hire to [Confirm].
Confirm
Users can create a task which requires the new hire to [Confirm] an action. The candidate then [confirms] they have completed the task on the front-end website.

Library Books
Individual Library Documents that need to be available to the new hire being onboarded must be uploaded into the system.

Libraries
A ‘Library’ can be created in the control panel, which is made up of individual documents that have been uploaded into the Library Books section and need to be available to the new hire being onboarded.
The new hire will view these documents in the [My Documents] section of the onboarding website

Line Manager Tasks
Line managers can be given a number of standard tasks to help the onboarding process from a management point of view.
Control Panel users can create an unlimited number of Line Manager Tasks, which can be assigned to a Line manager when they are assigned to a new hire

Pack Builder
The Pack Builder allows the user to create a ‘pack’ for a particular role for new hires that are being onboarded into the business.
The Tasks must be created first, then a task is simply assigned to a pack.
The Pack is the list of ‘Tasks’ that the new hire must complete within the Onboarding website.

The control panel user can manage who can view each task and if it is compulsory (I.e. the candidate MUST complete the task in the onboarding website):
- Line manager
- App
- Compulsory
The control panel user can edit/custom the following fields:
- Task Title
- Task Icon
- Task Explanation (Internal)
- Task requirement (Compulsory)
- Content / instructions to the candidate
- Where (and how) the task output is sent back into the business once the candidate has completed the task
